Recently I've had several inquiries for the classes I teach. Here's the current roster (updated 9/23/16):
Rumor
has it that there are over 50 different cast-on methods! We'll learn a few of
the most practical and versatile – including long-tail, cable, crochet &
provisional - and the merits and drawbacks of each. This is an invaluable class
that will change the way you start every new project.
Time:
3 hours
Class Limit: 10 students
Homework:
No homework.
NEW! Color Made Easy: Working with Long
Color-Changing and Gradient Yarns
Description: How are long color-changing and gradient
yarns easy? The hard work of choosing
colors has been done for you. The
challenge is in selecting stitch patterns and project shapes that show them at
their best. We will play with stripes,
slip stitches, stranded color work and modular knitting. With over a dozen published designs using
these yarns, Theresa has plenty of tips and tricks to share to lead you to
color success.
Time: 3 hours.
Class
Limit: 25 students.
Skills
Required: Intermediate.
Homework: No homework.
Class
materials: A long color-changing yarn,
such as Noro, and/or gradient yarn (ball or set), a coordinating solid of the
same weight, 24"
circular needle appropriately sized for your yarn.
Class
Materials Fee: None.
A Means to an End
Description: A class in joining yarns. To knot or not to knot, that is the
question. Usually the answer is ‘not to
knot’, so we’ll cover methods of hidden joins such as spit-splicing and the
Russian join, and which method works best in each fiber type. If you must knot, we’ll discuss how to secure
knots and invisibly weave in ends.
Time:
3 hours
Homework:
No homework.
Intro
to Entrelac
Description: Learn how simple it is to create the complex
knitted effect of woven basketry.
Entrelac is a fun technique that breaks out of the box of long,
horizontal knitted rows. This class will
get you started on an entrelac scarf or washcloth. The skill of knitting back backwards will
also be covered.
Time:
3 hours
Homework:
No homework.
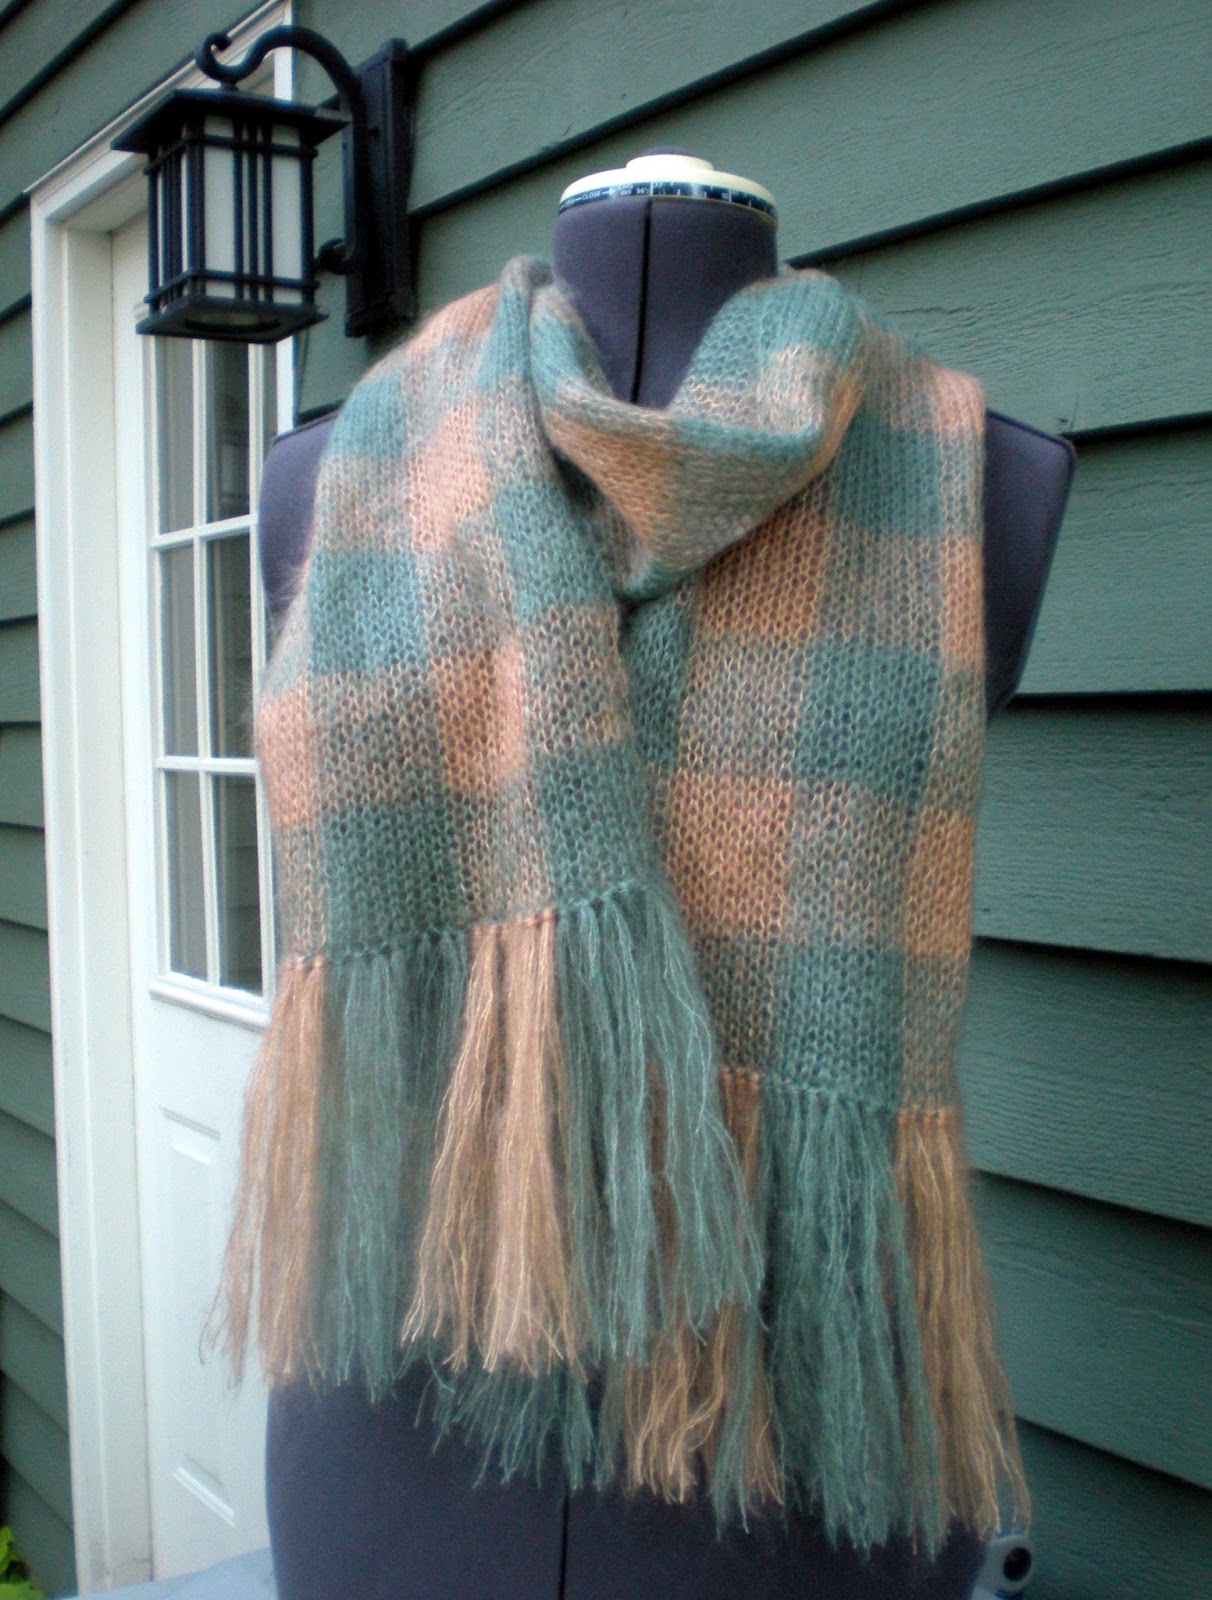
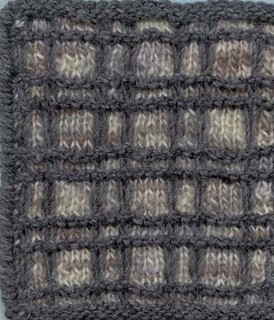
Mad
for Plaid
Description: Plaids are a traditional woven fabric pattern
which can be replicated in knitting via several techniques: slip stitches,
two-stranded intarsia, applied crochet chain and surface weaving. We’ll learn a
few, including some where the pattern is worked as you knit, and some where the
color work is added after the knitting is completed. A highlight is applied crochet chains, a neat
trick to create plaids or embellish any knitted garment.
Time: 3 hours
Craft
Your Own Spaghetti Yarn
Description: Learn how to create cotton 'spaghetti' yarn
from your old t-shirts, plastic bags and felted sweaters. This technique also
creates yarn from old jeans fine gauge commercial sweaters. We'll cover the tricks for continuous spiral
cutting, and use the yarn we create for a quick knit or crochet project. We'll also have fun combining our spaghetti
yarns to make colorful and fun necklaces.
Time:
3 hours
Homework:
None.
The
Thrifty Knitter
Discover how recycling can be the frugal
knitter or crocheter's best kept secret.
Learn where and how to spot good sweaters for re-use. Discover the tricks as we unraveling yarn
from existing garments, plus how to use that yarn in new projects. The cheapest (and greenest!) way to fill your
stash with cashmere!
Time: 3 hours.
Homework:
None.
Using
Ravelry to Find Your Perfect Pattern
With the growth of Ravelry, knitters and
crocheters now have tens of thousands of sweater patterns from which to
choose. Where do you begin? Not with ‘Hot Right Now’! Start with an overview of the design details
which will help you appear taller and slimmer, as well as the guides to flatter
your specific figure. Then go snoop
shopping to test those rules on your body.
Finally, learn how to use the Ravelry search features to narrow down
those pattern options for a sweater that will look great on you.
Time:
3 hours
Homework:
None.
60- to 90- Minute Classes
In
addition to being standalone classes, these can be combined into a 3-hour class
format.
End to End
Description: A class in joining yarns. To knot or not to knot, that is the
question. Usually the answer is ‘not to
knot’, so we’ll cover methods of hidden joins such as spit-splicing and the
Russian join, and which method works best in each fiber type. If you must knot, we’ll discuss how to secure
knots.
Time: 90 minutes.
Class
Limit: 25 students.
Skills
Required: None.
Homework: No homework.
Class
materials: Scrap yarn in various fibers,
tapestry needle, scissors.
Class
Materials Fee: None.
NEW! Finishing School: Binding Off
Most
knitters only ever use one bind off, but there are many more from which to
use. They may be more elastic, sturdier, or
prettier than the traditional bind off.
Come and give yourself some better options for your next project.
Time: 60 minutes.
Class
Limit: 12 students.
Skills
Required: Beginner.
Homework: Using worsted or dk weight yarn, cast on 24
stitches and work in garter stitch (knit every row) for 48 rows/24 ridges. Do not bind off.
Class
materials: Your homework on the needles,
plus two more colors of yarn in the same weight.
Class
Materials Fee: None.
Finishing School: Blocking
Knit
projects don't come off the needles in perfect shape. The stitches need to be put in their
place. Learn the tips and tricks to
expert blocking and bring out the beauty in your next project.
Time: 60 minutes.
Class
Limit: 25 students.
Skills
Required: Beginner.
Homework: No homework.
Class
materials: None. Optional: Bring along a
project for which you'd like blocking advice.
Class
Materials Fee: None.
Finishing School: Weaving in Ends
Every
knit or crochet project begins and ends with a tail of yarn - and often we have
many more loose ends in between. Learn
how to best secure and hide those ends either by working them in as you go, or
weaving them in when done.
Time: 60 minutes.
Class
Limit: 25 students.
Skills
Required: Beginner.
Homework: No homework.
Class
materials: Scrap yarn, tapestry needle,
scissors. A project on the needles to
practice weaving as you go. A piece of
hand knitting to practice weaving in ends.
Class
Materials Fee: None.
If you would like more information or to book any of these classes, contact me via Ravelry or at ttschabes@sbcglobal.net. I also offer a group talk based on my 'Using Ravelry to Find Your Perfect Pattern' class which has more focus on the guidelines for appearing taller and slimmer.